Communication Manager
Purpose: Allows emailing a list of recipients, or creating an Excel sheet of a list of recipients.
Cost: None.
When sending emails, the "From" will be the user creating the list, which will result in most, or possibly all, of the emails being treated as spam and tagged as such, or being rejected outright.
This feature does not provide reports of how many emails were successfully sent or opened, or unsubscribe links, etc., like a fully featured contact/mailing program.
This feature was not designed to send hundreds of emails.
See: Mailchimp Integration if you want to send hundreds of emails.
This feature is not designed to send hundreds of SMS messages. You may only be able to send 20 or so at one time.
Their currently is no integration for sending many SMS messages like there is with Mailchimp to send hundreds of emails.
In this Article:
- Creating a Communication
- Selecting Columns and Filters for the Recipient List
- Selecting Recipients
- Confirming and Sending
- Summary
Creating a Communication
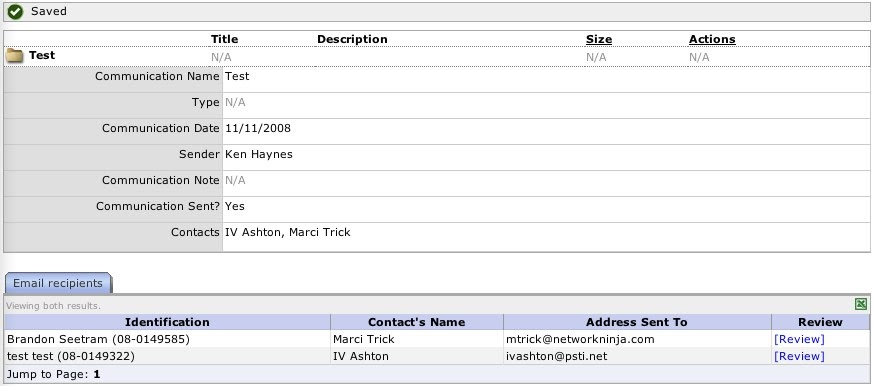
Creating a communication begins by clicking on the admin tab followed by the 'Communication' link. The communication log lists all the communications that have been sent and can be filtered by date.

To start a new communication, use the Actions menu > Create Communication link.
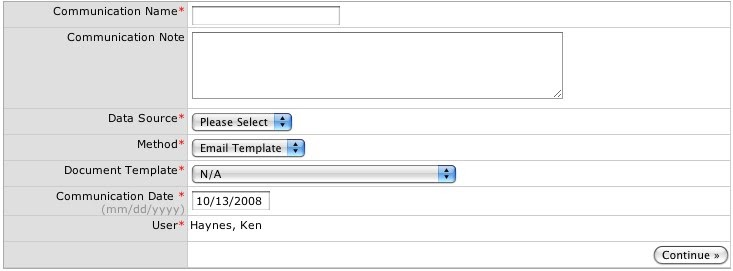
Select the Data Source, then the Method:
"Email Template" displays a list of available templates. See Document Templates Creating and Editing for more information.
"Generic Email" displays fields to enter a subject and body.
"Excel" produces an Excel file.
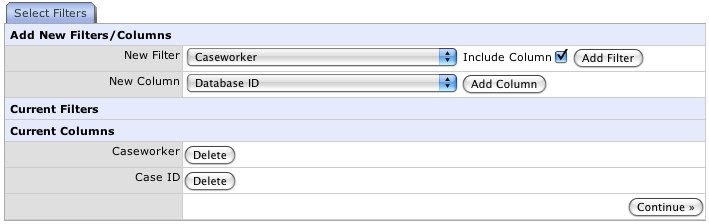
Selecting Columns and Filters for the Recipient List
The second step of the creating a communication is adding filters for the recipients list and columns to display in the list.
The list of available filters and columns depends on the Data Source chosen in the first step.
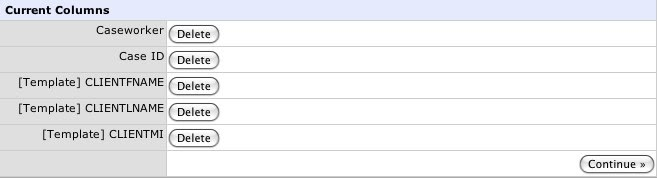
If the communication is an email template, the fields from the template are automatically added as columns.
Selecting Recipients
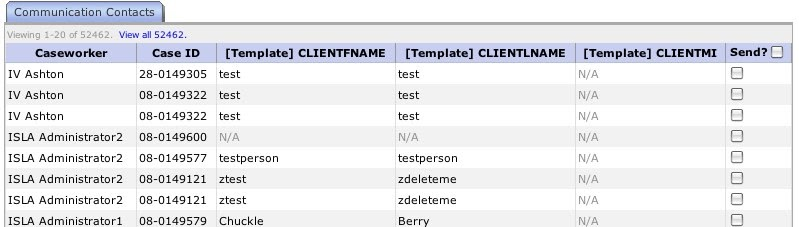
Clicking the box at the top of the 'Send?' column only selects the contacts visible on the current page. If there are multiple pages of contacts, either view those pages one at a time and select the names, or use the 'Show All" link to display all the contacts at once before clicking that checkbox.
Confirming and Sending
"[Preview]" links on the confirmation page let you see what the recipients will see.
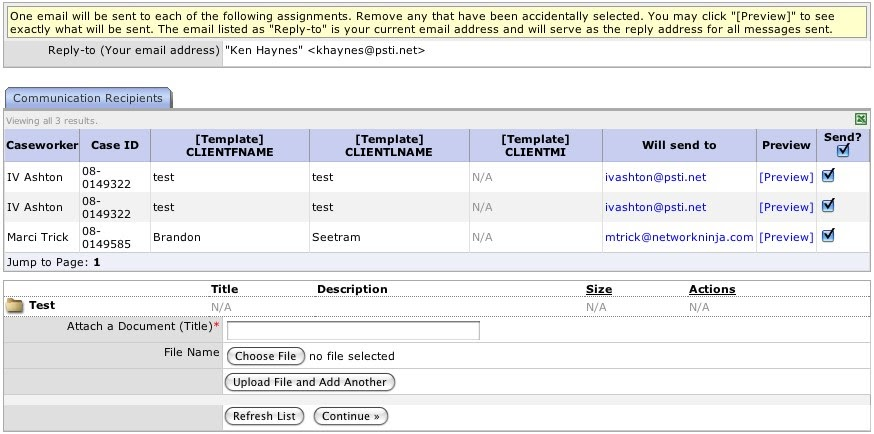
Files can be attached if sending an email.
Summary